Wednesday, April 22, 2015

Budget Friendly Bridal Shower

No matter how you swing it, entertaining for over twenty people can get expensive. So with that being said it's always good for everyone involved to keep the prices to a minimum. My best friend had no idea that we were throwing her a bridal shower, so this added to the excitement of it all! The theme of our shower was "date night" and all of the guests were encouraged to bring them a gift they could use for a date together rather than your normal home goods. We wanted to keep it as low cost as possible so we opted to make everything ourselves which meant baking cupcakes, making sangria, making food, and making the decorations. Somehow we managed to pull it off, quite successfully might I add.

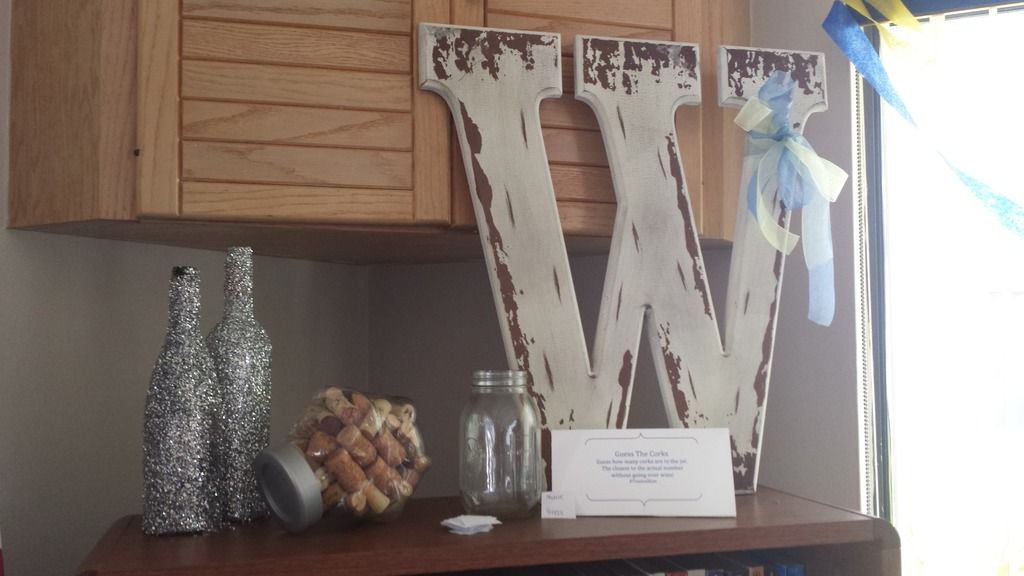
We did your basic shower games: toilet paper wedding dresses, you can't say "wedding," "bride," or "groom;" but we also added in a few new games. We played one game where we had the bride leave the room for a few minutes and the guests quickly wrote down all of the details they could remember about what she was wearing and what her hair looked like; the results were fun to read considering how wrong some people were! Another game we played was trying to have the guests guess various quotes from romantic movies. I made the mistake of choosing movies that everyone isn't too familiar with and not everyone could answer more than two or three of them! We opted for a handicap and allowed people to look on their phones for a minute. The other game we played was a "guess the corks" game where the guests just had to guess how many corks were in a jar and the person who was closest won a prize.
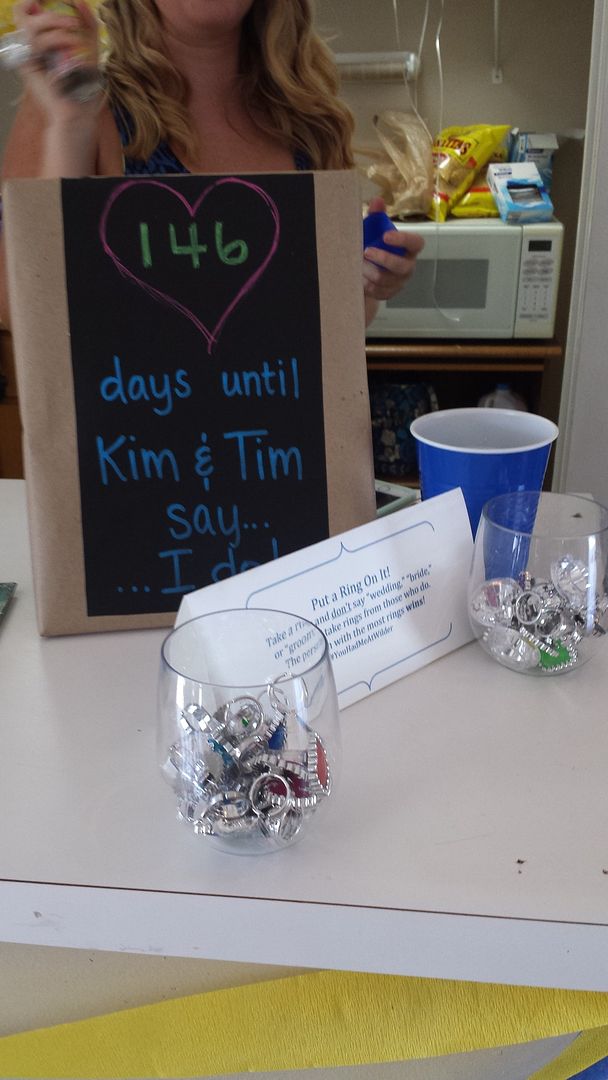
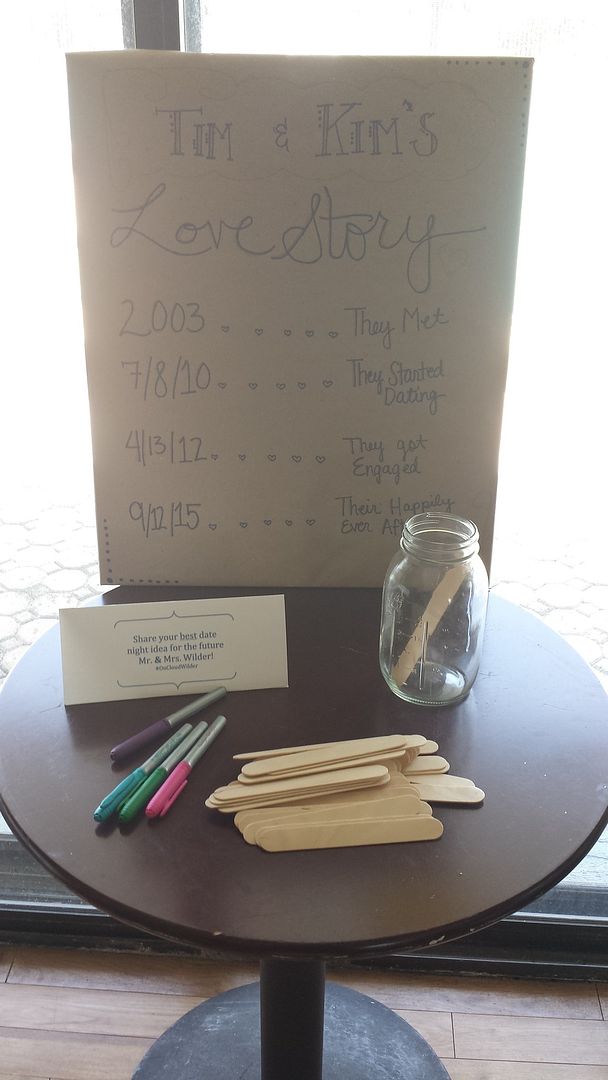
There were a few things we did that didn't involve any prizes but were still fun and enjoyable. We had a few different kinds of Mad Libs around on the tables for the guests to fill out, the bride and groom read them together and had a few laughs over some of the creations. We also played a Newlywed Game with the bride and groom. It was fun to see how much they actually know about each other! I think out of fifteen or so questions they only missed one or two (some of our questions were hard too!) The final game we played was the shoe game. We sat the bride and groom back to back and asked them various opinion based questions. They each had one of their shoes in one hand as well as the other's shoe in the other hand. Whenever we asked them a question (i.e. "who is the better driver?") they raised the shoe of whoever they thought was the answer. This game was funny because they don't know what the other is saying and they reveal their true opinions on things like who cooks better or does more chores around the house. There was also a jar and pop-sickle sticks for guests to write down their favorite date night idea for the couple to do.
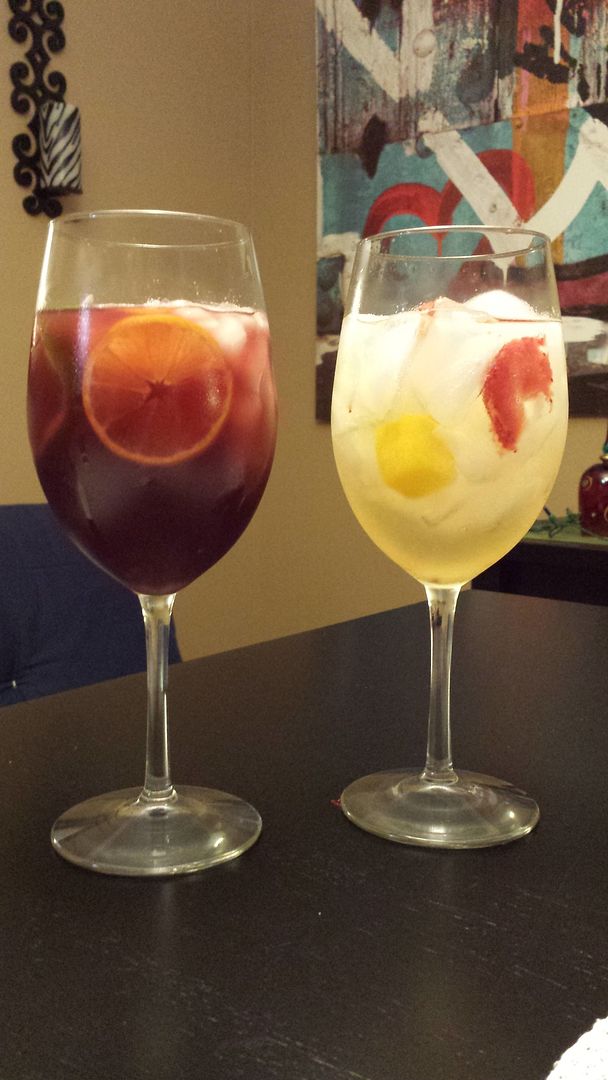
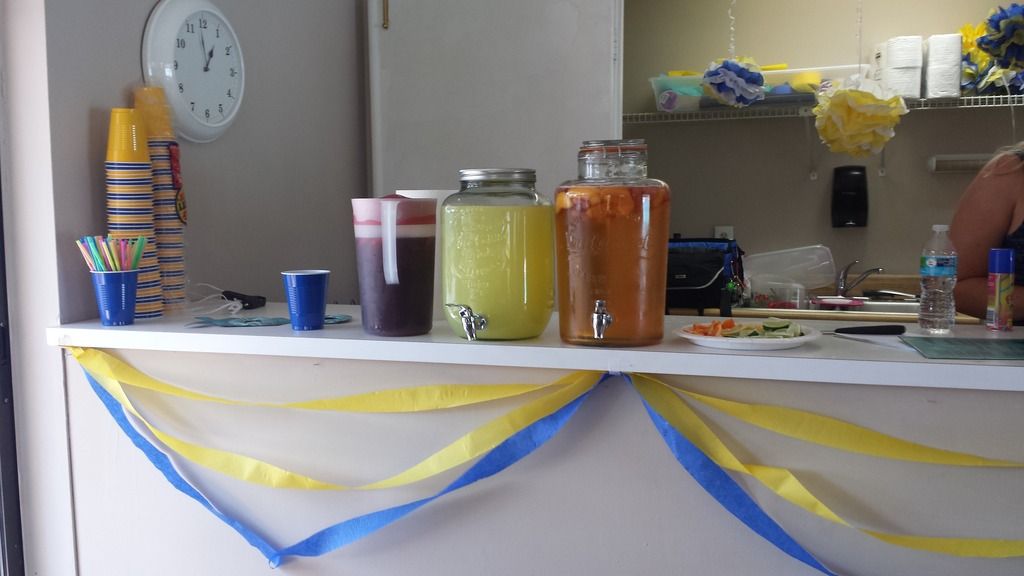
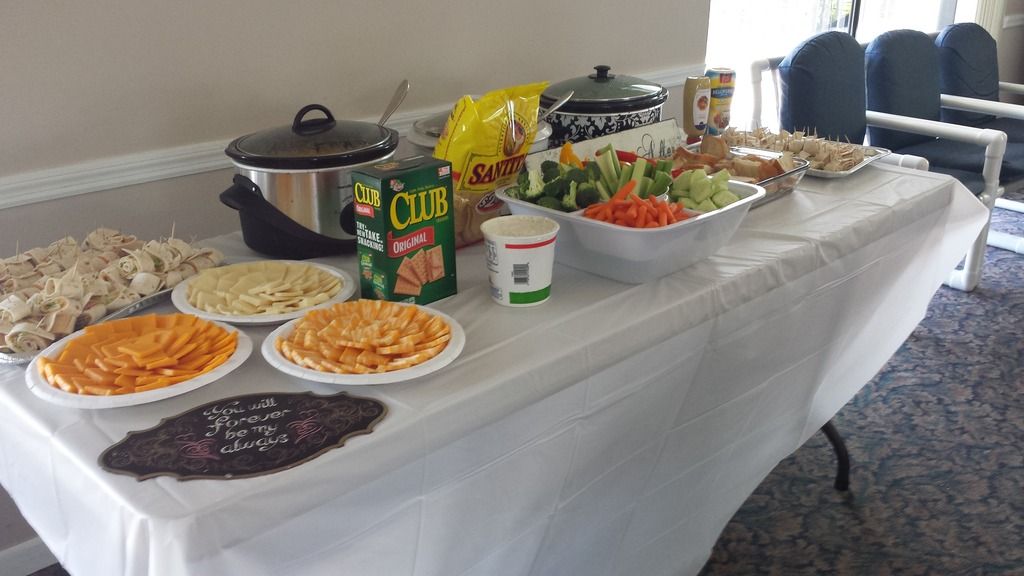
All of the food at the shower was made from scratch. We had your usual veggie tray with ranch dip and fruit tray with fluff dip (equal parts cream cheese and fluff mixed together). We also had queso made with Velveeta and Rotel tomatoes and spinach dip, both kept warm in crockpots. We made meatballs in the crockpot as well using a recipe that called for grape jelly and chili sauce! The main part of our food table was our assortment of pinwheels: turkey & cheese, ham & cheese, and buffalo chicken. The wraps were simple and easy to make and such a great hit! For drinks we had soda, water, lemonade, beer and sangria. We made two different kinds of sangria: a basic red and my favorite, Strawberry Peach.


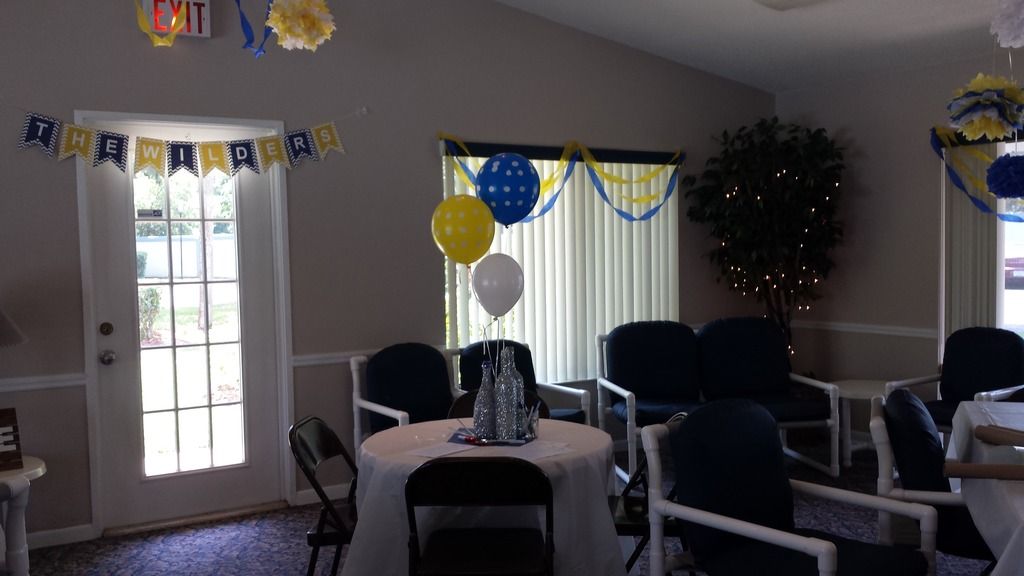
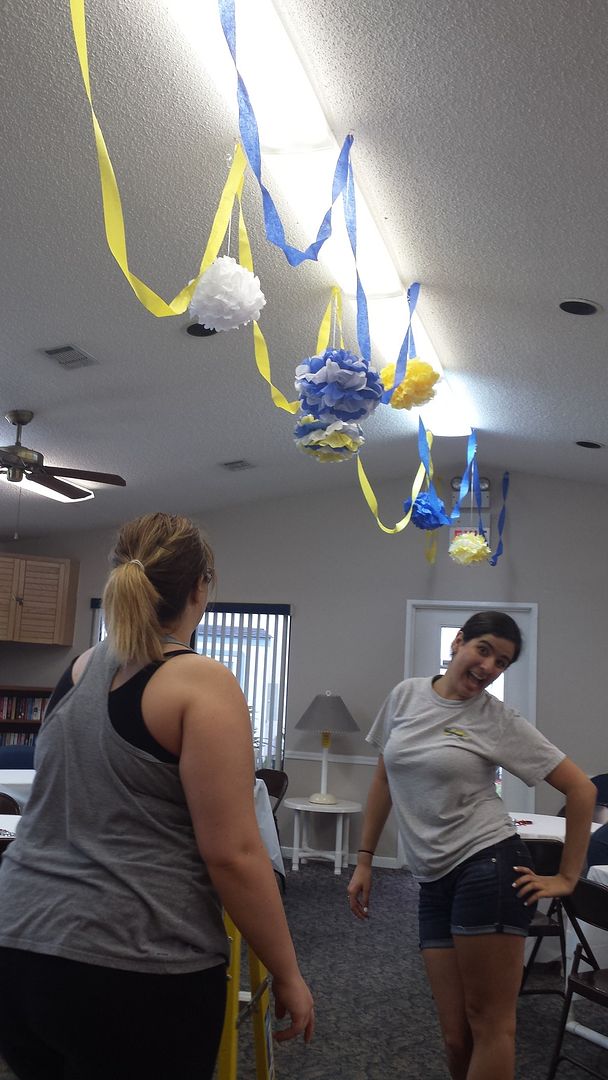
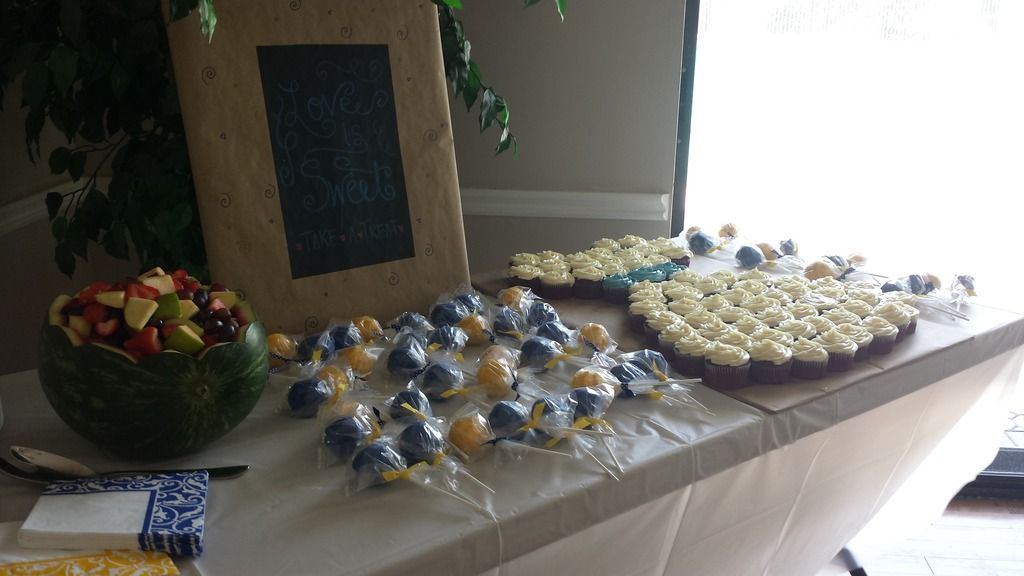
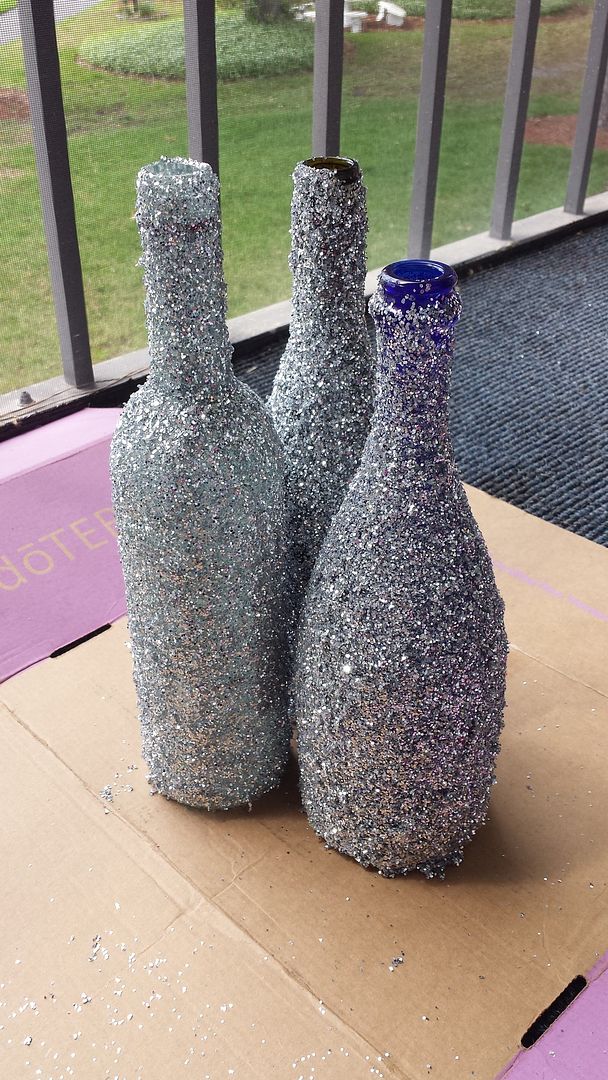
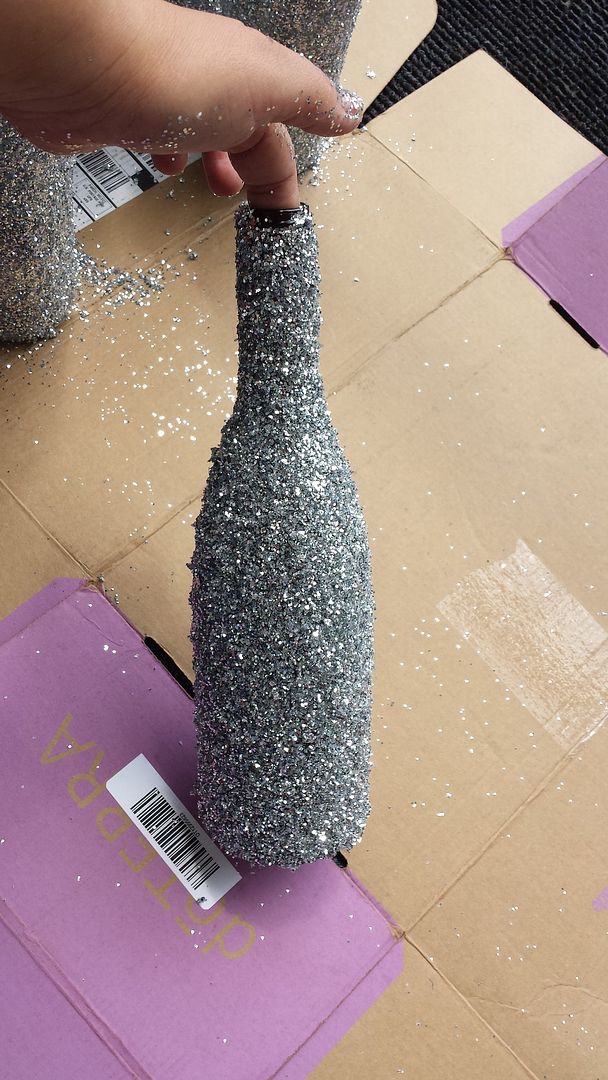
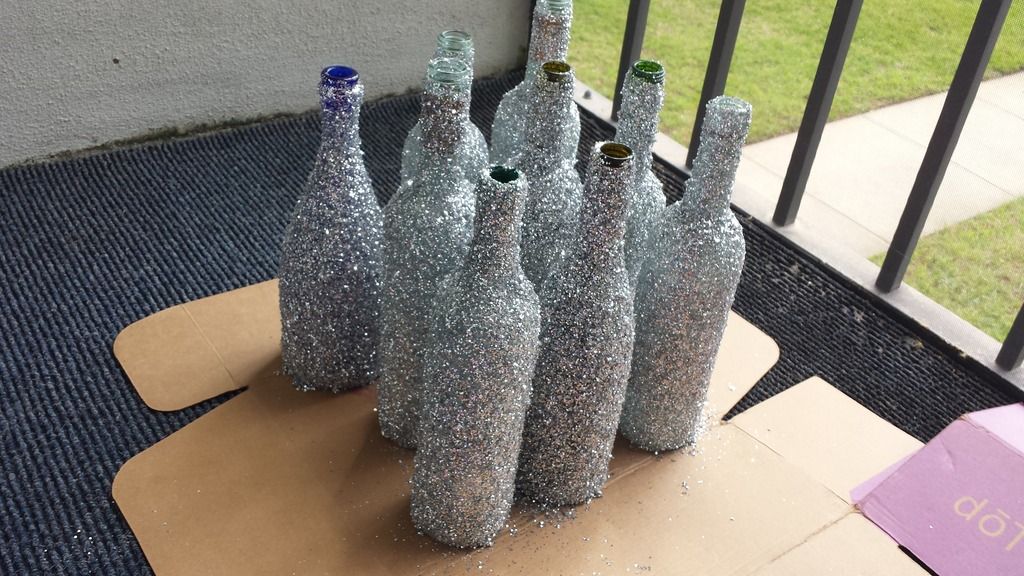
For decorations we used the basic paper streamers, balloons, and homemade pom-poms. The pom-poms were really simple to make and didn't take long when we had four people working on them. I also found a free downloadable banner template using Chicfetti; it was absolutely perfect and matched the decor wonderfully! We made the cupcake dress almost from our imaginations. We had seen a picture of one on Pinterest but that's all, there wasn't a link that followed it and by the time we realized this we were elbows deep in icing and there was no turning back; needless to say we did a pretty damn good job on that one. For the centerpieces on the tables we glittered wine bottles to arrange on the tables and give the room a girlier touch. 

All in all I think this bridal shower was a wonderful success and relatively reasonable in price. If you have any tips or tricks you know of feel free to comment below! I would also love to hear how you would change anything we did! 

Sources:

Glittered Wine Bottles

When gathering supplies for my best friend's bridal shower we found ourselves at a loss while trying to find something to use as centerpieces for the tables. Every idea we had ended up being too complicated or way over budget. Finally we thought of using wine bottles, but better yet, we decided to add glitter! As we began glittering the bottles we liked our idea more and more.
After making these and seeing them in use at the bridal shower I think these would make excellent decorations for any event or even nice ways to use all those empty wine bottles around your home!


What you'll need:
Wine bottles
Spray adhesive 
Large glitter the color of your choosing (20 bottles of various sizes used almost two large bottles)
Something to cover the surface you're working on

Start by wiping the bottles clean and making sure they're all rinsed out and dry on the inside. We didn't remove the labels because we were keeping the work as minimal as possible, you couldn't see them through all the glitter anyway. If you find the labels show through you can remove them first. 
We glittered the bottles in three sequences, spray, glitter, rotate. Three times. When you're spraying and glittering be sure to glitter on a different spot than that you spray so the loose glitter doesn't get sticky and can be reused. Spray one side with the spray adhesive and pour the glitter onto the spot you sprayed. Continue this process until the entire bottle is covered. After the bottle is done set it aside to dry. Scoop up the loose glitter to be reused and continue this process until you're finished with all your bottles. 
You can dress up the bottles by adding ribbon or twine to the base and/or neck. You could also stick a flower or two into each bottle for a nice touch. 


Strawberry Peach Sangria

I've now made this Sangria on two separate occasions; both times it was a success. I cannot say on the first occasion I followed the exact same recipe but from what I remember it was nearly identical. It's a simple recipe that is perfect and refreshing for a hot afternoon.

SN: When I made this the second time I made in in bulk (like six 1.5L bottles of wine, bulk).

Strawberry Peach Sangria

Strawberry Peach Sangria is on the right
The left sangria is a basic red
Ingredients:
1 (750 mL) bottle of dry white wine, I used Pinot Grigio
1/2 to 3/4 (750 mL) bottle of sweet white wine, I used Moscato
1 1/2 C Le Muscat (also sold as Essensia)
1 1/2 C strawberries, sliced
1 C Peach Schnapps 
3 peaches, sliced
1/4 C ginger ale

Mix all ingredients except for the sweet white wine in a pitcher. Pour the sweet white wine in last because you're really just using this for the sweetness so it's up to your preference. For best results I suggest letting the sangria stay in the fridge and chill for a few hours before you add in the sweet white wine, that way the flavors have a chance to mix together. Chill the entire mixture for five hours to overnight. Serve over ice & enjoy!

Source:
Epicurious

Tuesday, April 21, 2015

Picture This: Clothes Line Style Frame

During conversation one day my friend told me that she wanted to make a picture frame that contained several other pictures hanging on string; sort of like this one here. Shortly after that I got the idea of making one for her and gifting it to her at her bridal shower! In my head I envisioned myself finding a wonderful ornate and antique frame at a thrift shop, you know the ugly gold ones you see framing old paintings? I was going to find one of those and spray paint it to match the frames in their bedroom. This task proved harder than I originally thought.
I ended up purchasing a frame from a home decor store. It was tacky and silver, not as intricate as I would've liked but it was the right size and it had good bones. Next I went to Wal-Mart and purchased a can of matte grey spray paint, small twine, miniature clothespins, and a staple gun.
I wanted the clothes pins to be yellow- so following a tutorial I found online I attempted to dye them yellow. Failed. Miserably. It probably would've worked if the clothespins I had weren't pre-treated, but alas they were. So I resorted to painting them dandelion yellow, I like the results much better.
I then removed the glass and backing from the frame and took it outside to be spray painted. Over all it took three coats until I was happy with the coverage. Goodbye tacky silver frame, hello sleek and modern grey frame!


My next step was to attach the twine to the frame. I wanted to do so in three lines. So I spaced them out and tried to staple them into the frame. My strength failed me so I had to have my boyfriend staple them in, but nonetheless it was successful.
I hung pictures of my friend and her fiance on the strings using two clothes pins per picture. I am pleased to say I am thrilled with the results and so is she!

I am annoyed (with myself) to say I didn't take any pictures of the finished product or the process of putting the twine on the frame... I will try my best to remember to take a picture next time I'm at her house!